Philips Sonicare-Reparatur

Heute bekam ich von einer Freundin meiner Tochter eine Zahnbürste, die „Philips Sonicare“, zur Reparatur. Die Zahnbürste lässt sich nicht mehr einschalten. Sie geht zwar aufgrund ihres Bewegungssensors an, aber ein Einschalten ist nicht möglich.
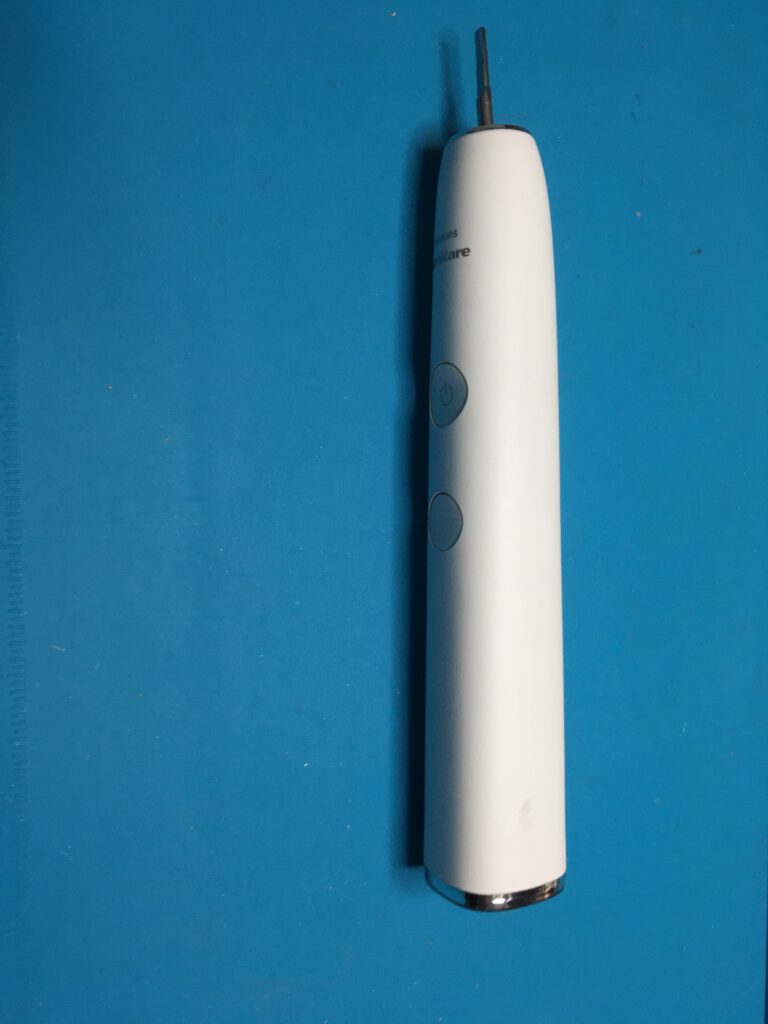
Das sit die Philips Sonicare Diamond
Die Philips Sonicare Diamond vor dem Öffnen

Also versuche ich erstmal, die Zahnbürste zu öffnen, was bei den Philips Sonicare ja immer annähernd gleich ist. Es gibt dazu auch viele Videos auf Youtube. Die Zahnbürste geht am besten auf, indem unten auf die Seiten gedrückt wird. Ich mache das gern mit einer Armaturenzange und einer Zwischenlage aus Stoff. Irgendwann kommt dann der Boden heraus. Nun lässt sich die Verankerung des gesamten Innenteils herausnehmen, indem man die beiden Rasten an den Längsseiten löst. Das ist keine schöne Arbeit, die Zahnbürste ist eher ausschließlich für einen guten Zusammenbau konstruiert. Die Zahnbürsten repariere ich aber immer mal wieder, weil ich es nicht gut finde, dass Philips, ein Firma mit großem Engineering-Sachverstand, Produkte so baut, dass sie schwer reparierbar sind.
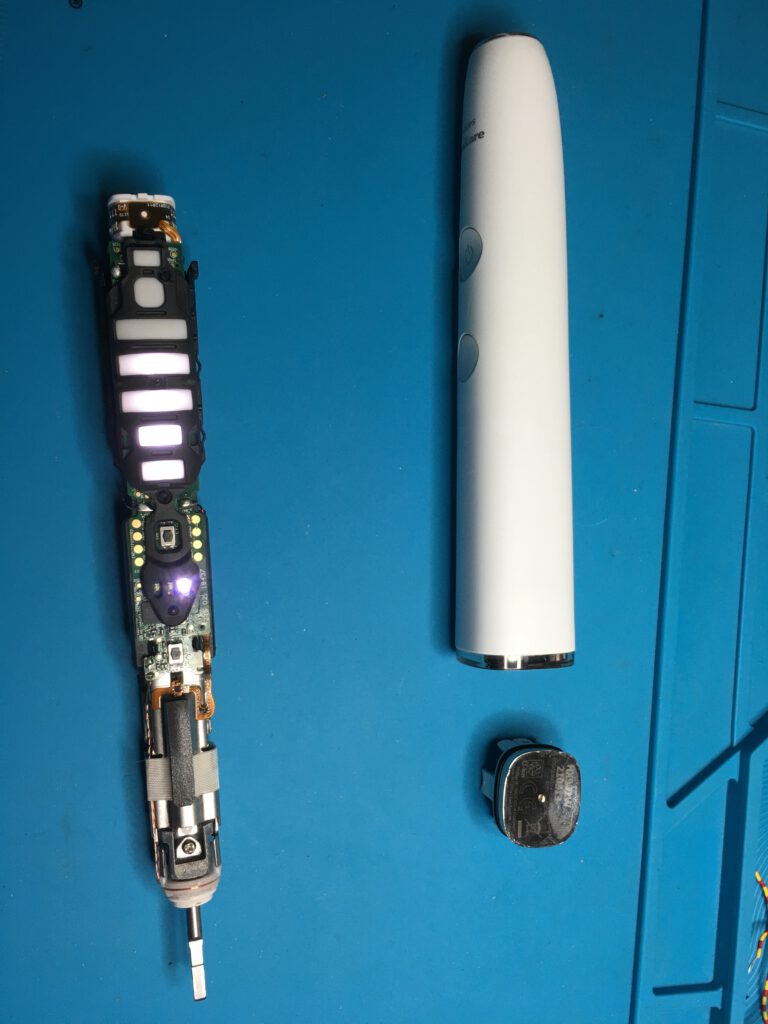
Die geöffnete Philips Sonicare
So sieht das Innenleben der Philips-Zahnbürste aus.

Wie sich herausstellt, ist wirklich der Taster defekt und nun ist die Frage, wo ich diesen Micro-Taster her bekomme. Dass der Schalter defekt ist, lässt sich messen. Nach längerer Recherche im Internet bin ich immer noch nicht fündig geworden. Also habe ich es mit ein wenig Kontaktspray versucht und die Lötkontakte des Tasters noch mal überlötet, da ich unter der Lupe den Eindruck hatte, dass eine Lötstelle gerissen war.

Nach diesen Maßnahmen funktioniert der Taster wieder. Ich bin nicht sicher, was den Fehler behoben hat, ob es das Kontaktspray war oder das Löten. Wichtig ist erstmal, dass ich eine weitere „Philips Sonicare“ mit der Reparatur vor dem Wegwerfen bewahrt habe und diese jetzt noch einige Zeit ihren Dienst verrichten kann.
Ascaso Dream-Signalleuchten

Wie Ihr ja wisst, war es nicht einfach möglich, orangefarbene Ascaso Dream-Signalleuchten zu bekommen. Ich hatte eine gebraucht, um die Maschine wieder instand setzen zu können. Dazu hatte ich mir einen Signalleuchten-Körper entworfen und gedruckt. Das ging auch gut, dennoch habe ich sicherheitshalber mal drei Leuchten bestellt und die sind nun angekommen. Sechs mm Durchmesser, jetzt mit LED und Vorwiderstand. Die Original verbauten haben kein LED, aber auch einen Vorwiderstand.

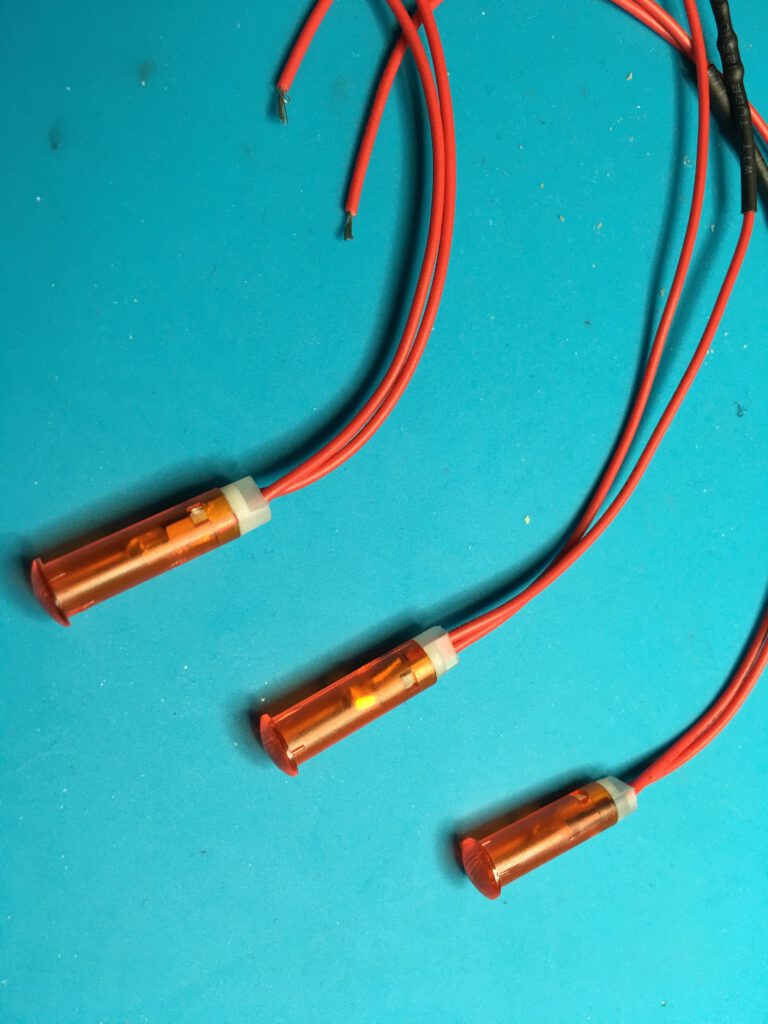
Ascaso Dream Signalleuchten 220V, 6mm
Die bestellten Signalleuchten

Im Gegensatz zu den originalen Ascaso Dream-Signalleuchten sind diese hier vorne leicht abgerundet. Vielleicht ist es besser, dann gleich alle zu wechseln. Da ich die Ascaso Dream nicht mehr hier habe, kann ich natürlich nicht probieren, ob sie passen. Jetzt habe ich also noch Signalleuchten übrig und diese warten jetzt auf eine Ascaso. In vielen Ascaso-Modellen scheinen diese Signalleuchten verbaut worden zu sein.

AVR mkII, Arduino IDE with Windows 10

I don’t remember how, but somehow um My Arduino Uno the voltage regulator is blown up. So I exchanged the regulator but it was still not possible to establish a data connection to the board. This article will describe the use of AVR mkII, Arduino IDE with Windows 10.

The Arduino board was recognized in the Tools Manager of Windows 10 but no uploads of skatches are possible. So I tried to check the connection according to the Arduino support page. I connected the reset with GND and TX with RX. Then I opened the Arduino IDE selected the Port Board and opened the serial panel. There I typed „hello“ pushed the „send“- button and got a straight „hello“ feedback from the Arduino.

This indicates that the hardware is OK. So the next step would be to burn the bootloader on the ATMEGA 328 new because it seemed to be corrupt. Don’t know how this happens but it’s worth a try.

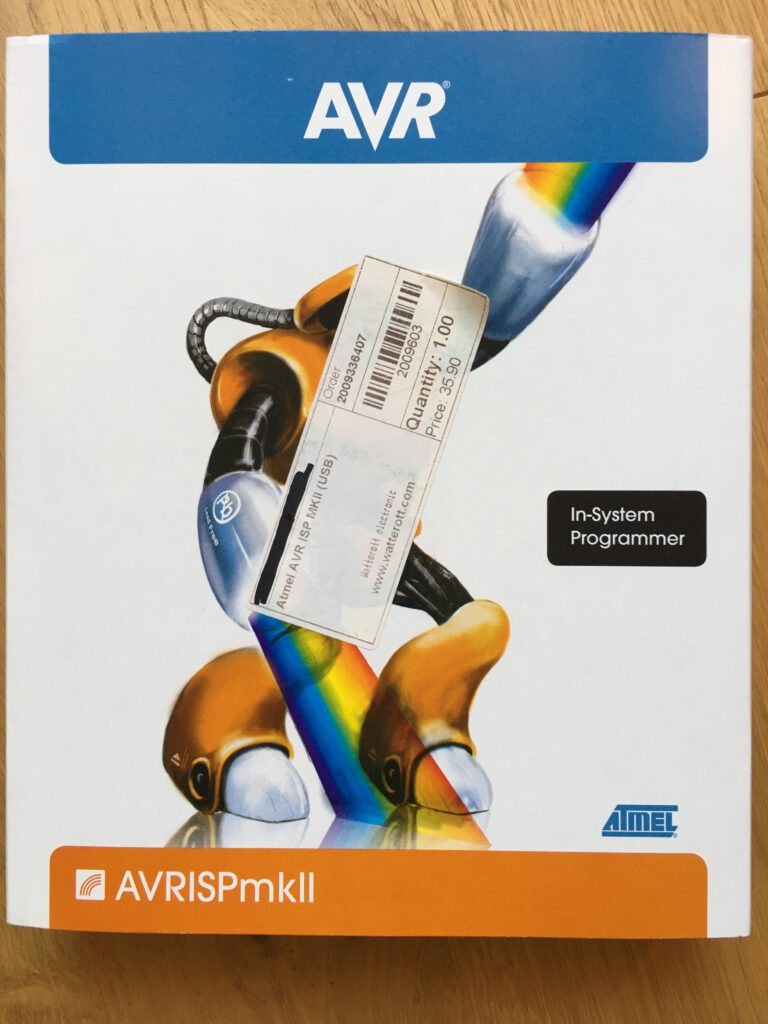
The old AVR mkII box, Used the AVRmkII with the arduino IDE before with window 7
My Old AVR mkII ISP

Installing the AVR mkII under Windows 10

As I have an ARV ISP mkII, I do not need to use a second Arduino and do the wiring. But of course, the driver for Windows 10 is not installed since the update from Windows 7. As far as I remember I used the mkII, Arduini IDE combination last time under windows 7. Now I need to find the driver for the mkII programmer. Finally, I found Olimex and after installing that I could see the AVR ISP in the Tools Manager of Windows. I did not investigate further whether the Libusb driver on github was different or even better.

Opening the Arduino IDE and selecting the Tools Menu I selected the target board for the Bootloader and as Programmer the AVR mkII. After finishing these settings, I pushed the Burn Bootloader soft button. Of course, I got error messages and I’m thinking whether it would be better to use another Arduino to burn the bootloader.

But anyhow, as I already hat spent some time on the research for the sufficient driver, I decided to go on using the MKII.

Hint on Timing issues with AVR mkII and Arduino IDE

I used the error messages to ask a search engine. Digging through the search results I found some hints regarding timing issues with the IDE and the mkII. Further investigations took me to a github page where a kind of board is available to be installed and which fixes the timing issues. Important to burn a bootloader with the mkII is to supply the Arduino Uno board with 5V power and ground.

First tries without external power were not successfull. With the settings according to the github page I could bur a bootloader to the ATMEGA 328. There were still error messages in the output window of the IDE but according to the author of the board, software was ok and the message in the IDE stated the bootloader was successfully burned.

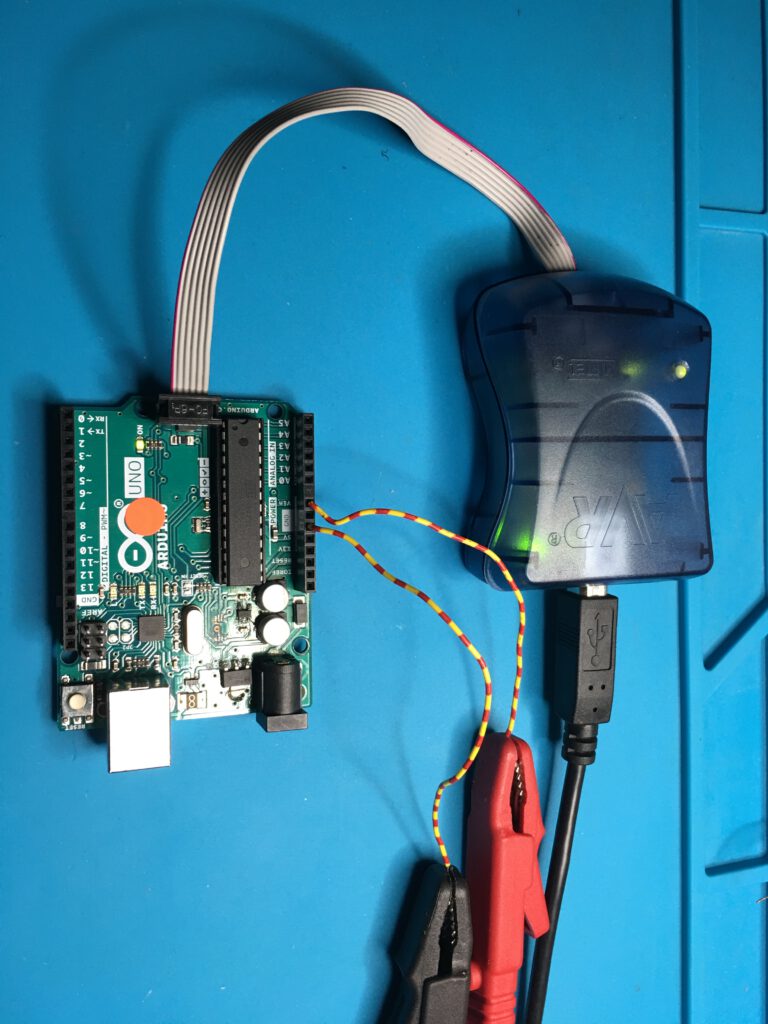
Setup of mkII and Arduino board
Tthe hardware setup used to burn a bootloader on the Arduino Uno 328

Now the Arduino Uno board can be used again and will not be waste which is important for the environment and useful in times of chip shortfalls.